Sticker Printing in Singapore: A Guide to Materials, Finishes & Die-Cut Shapes

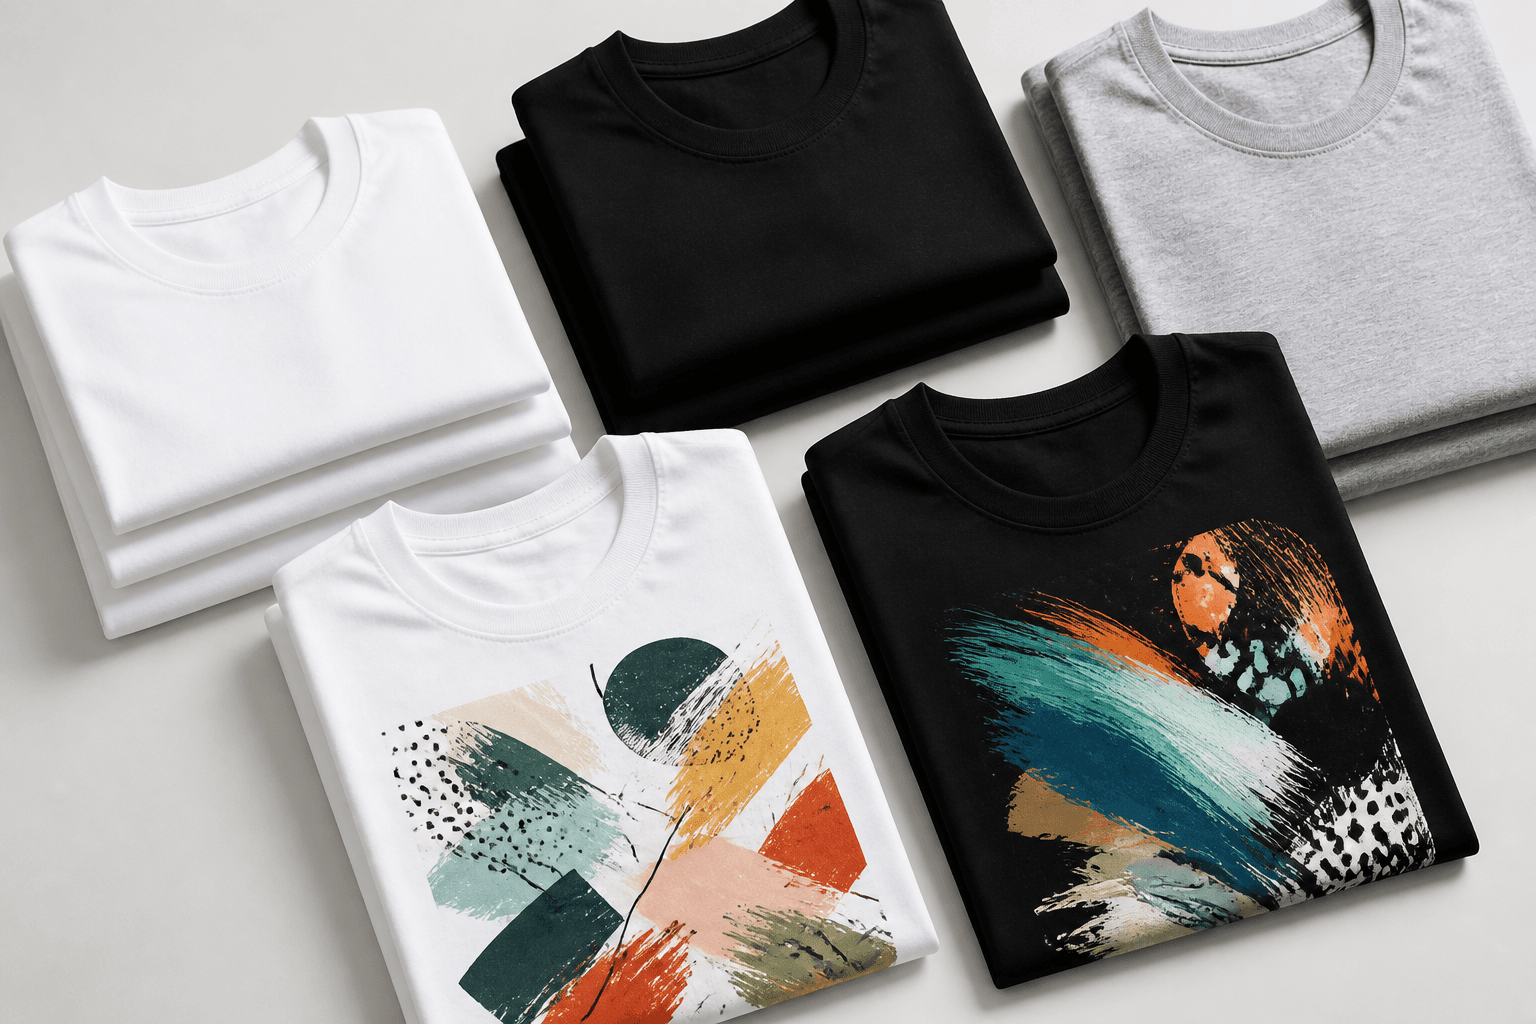
Stickers are the cheapest piece of branding you will ever print, and the most travelled. A good one rides home on a laptop lid, a water bottle, a helmet or a shop window and keeps working for months. A bad one curls at the corner, fades in the sun or peels off in the wash. The difference is almost never the artwork — it is the material, the finish and the way the sticker is cut. This guide to sticker printing in Singapore walks through every decision so you can order with confidence, whether you need 70 premium labels or 1,200 event giveaways.
There are really only four choices that decide what arrives at your door: the material finish, whether it needs to survive water, the shape it is cut to, and how the artwork is set up. Get those right and the rest is just quantity.
Why the material matters more than the design
Most people obsess over the logo and ignore the substrate — then wonder why the sticker looked great on screen but disappointing in hand. The material is what you actually touch. It controls how the colours read, whether the surface reflects light, how it survives rain or a dishwasher, and how premium the finished piece feels. A clean logo on the wrong material looks cheap; an average logo on the right material looks considered.
At Printvolution we print stickers digitally in CMYK across seven material finishes, and they all cost the same per sheet — so you choose purely on the look and the job, never on price. That is deliberate: it means the decision is about fit, not budget. Here is how the seven break down.
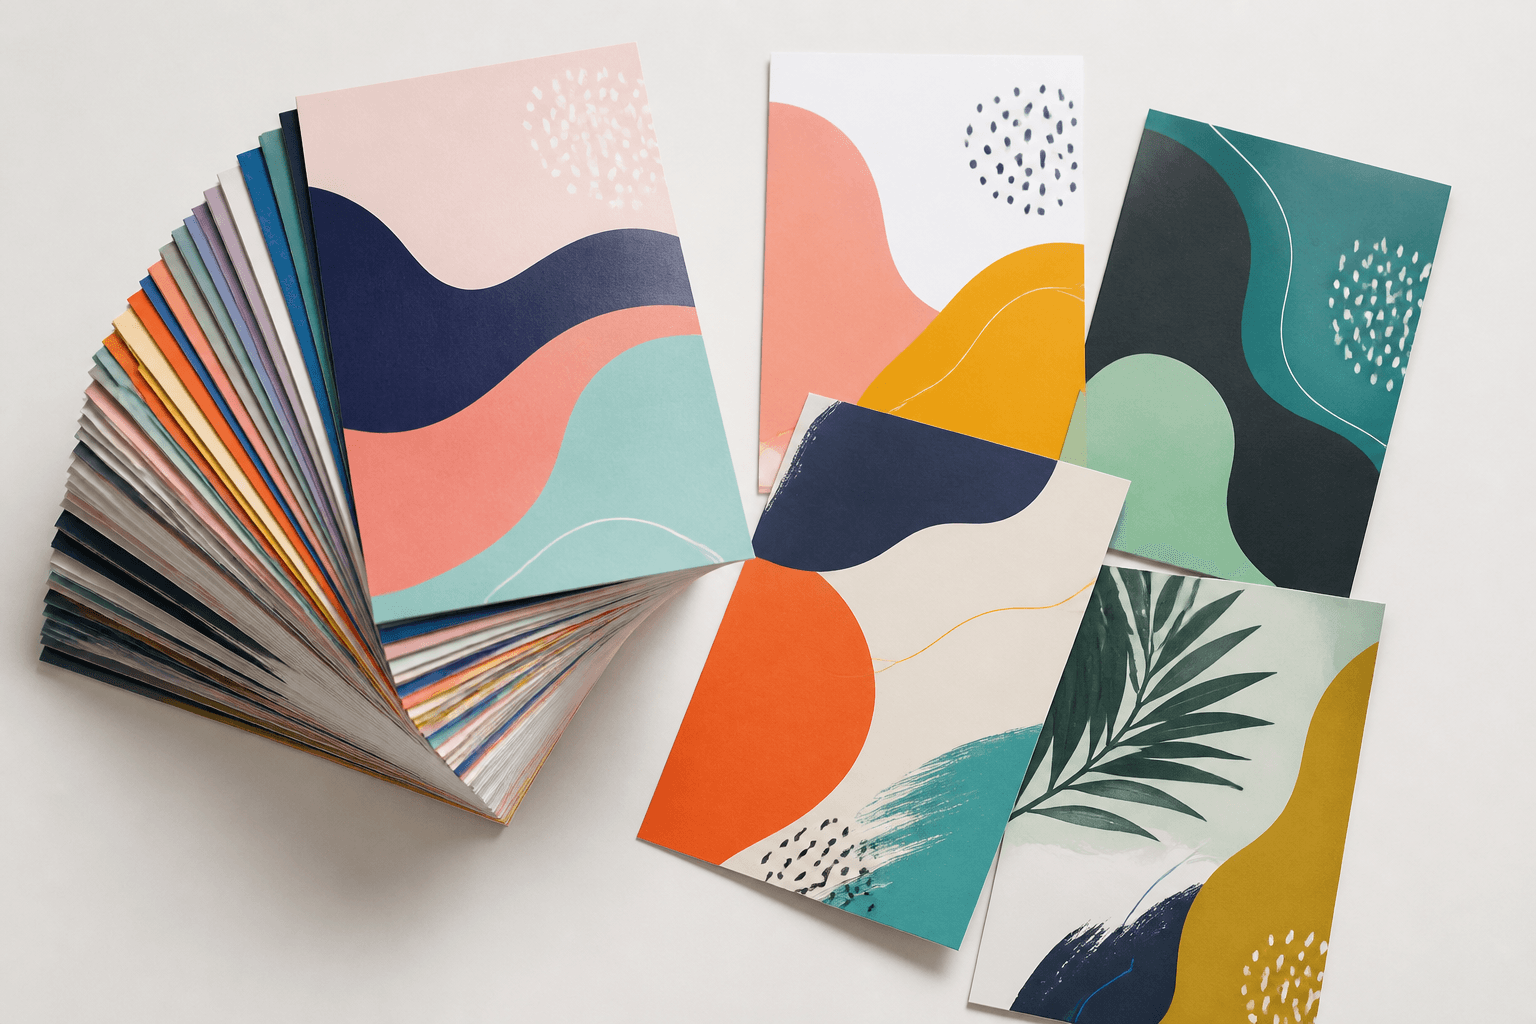
The seven sticker finishes, explained
The line-up covers three practical families: two waterproof workhorses, one transparent option, and four metallic effects for when you want the sticker itself to be the wow.
- Gloss (waterproof) — a glossy, reflective surface that makes colours pop. The default choice for vivid logos, product labels and anything that needs to look bright and sharp. Because it is waterproof, it handles water bottles, outdoor use and the occasional spill.
- Matt (waterproof) — the same durable, waterproof build with a flat, non-reflective surface. Matt reads as more premium and modern, kills glare under shop lighting, and is the quiet favourite for minimal brand stickers and packaging seals.
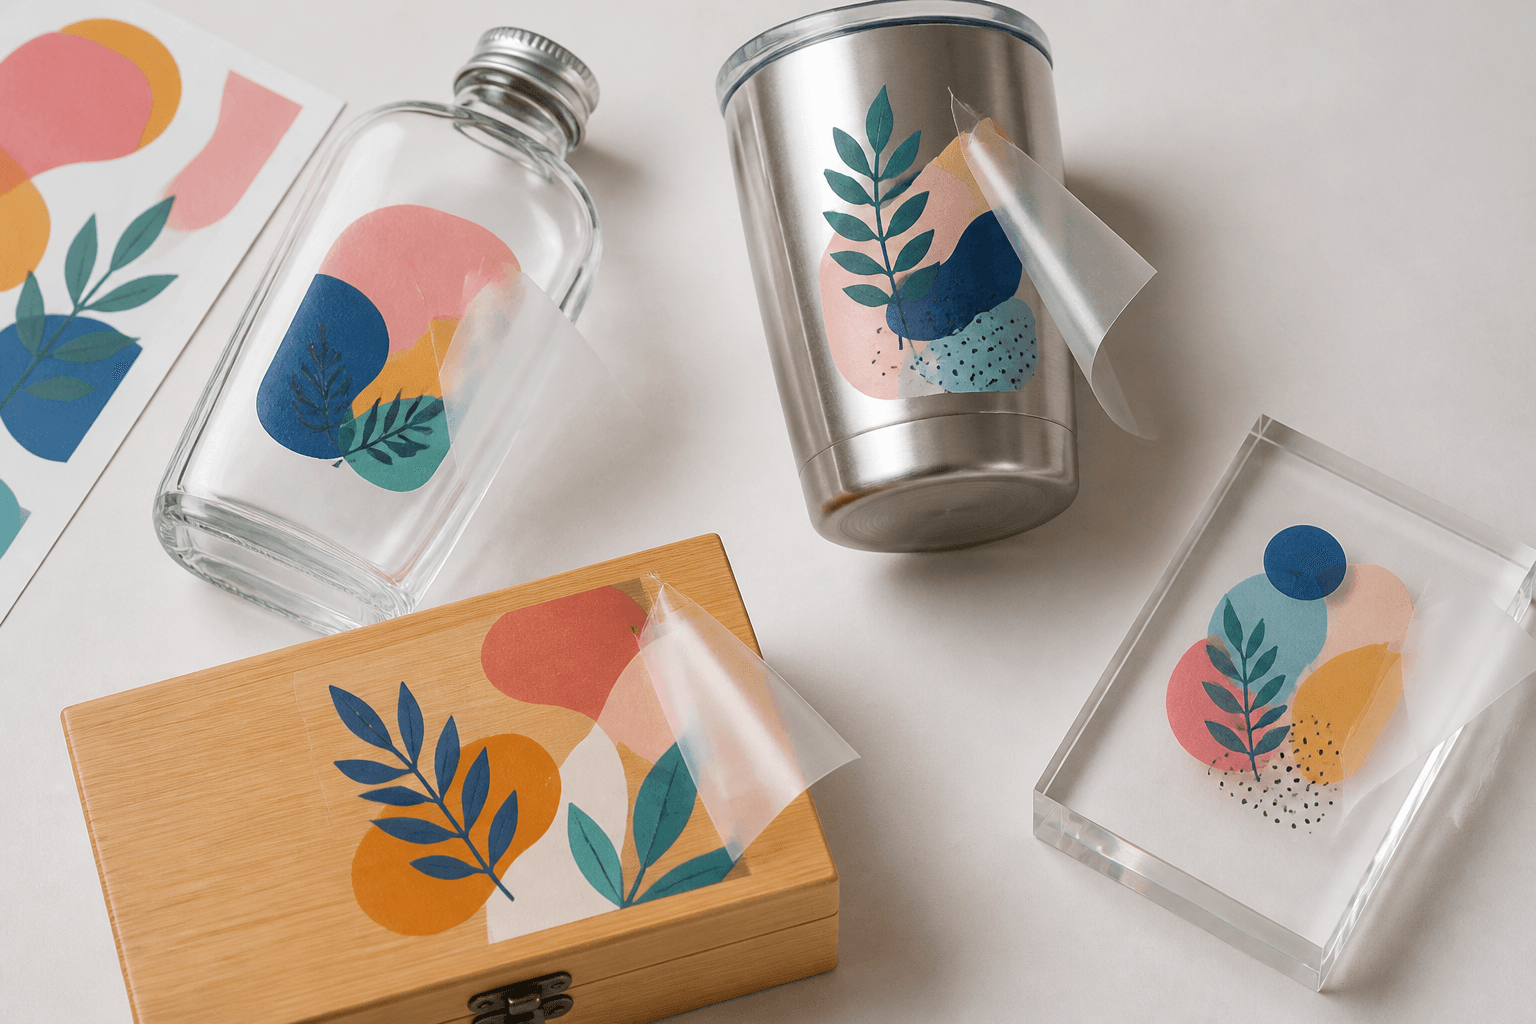
- Transparent — printed on a clear stock so there is no white background. The surface beneath the sticker shows through, which is ideal for glass, frosted packaging or anywhere you want the design to appear to float. Note that solid colours over a clear base may need a white underbase to read fully opaque (more on that below).
- Metallic — Rainbow Sands, Holographic, Stripes and Gold — four finishes that give the sticker a genuine metallic visual effect. Holographic catches the light with a rainbow shift; Gold reads as a premium foil-style label; Rainbow Sands and Stripes add texture and movement. Reach for these when the sticker is the gift, the seal or the standout, not just a label.
Waterproof or not: matching the sticker to where it lives
The single most common sticker complaint is "it didn't survive." The fix is to think about where the sticker will spend its life before you pick a finish. If it is going on a water bottle, a laptop that gets wiped down, a car window, or any packaging that might meet rain or a fridge, choose one of the two waterproof finishes — Gloss or Matt. If the sticker lives indoors on a notebook, a folder or a wall display, any of the seven will do, and you can choose on looks alone.
As a rule of thumb: outdoor, wet or high-handling use → waterproof Gloss or Matt. Indoor, decorative or premium-unboxing use → match the finish to the mood, including the metallics. There is no single "best" material; there is only the best material for that sticker's job.
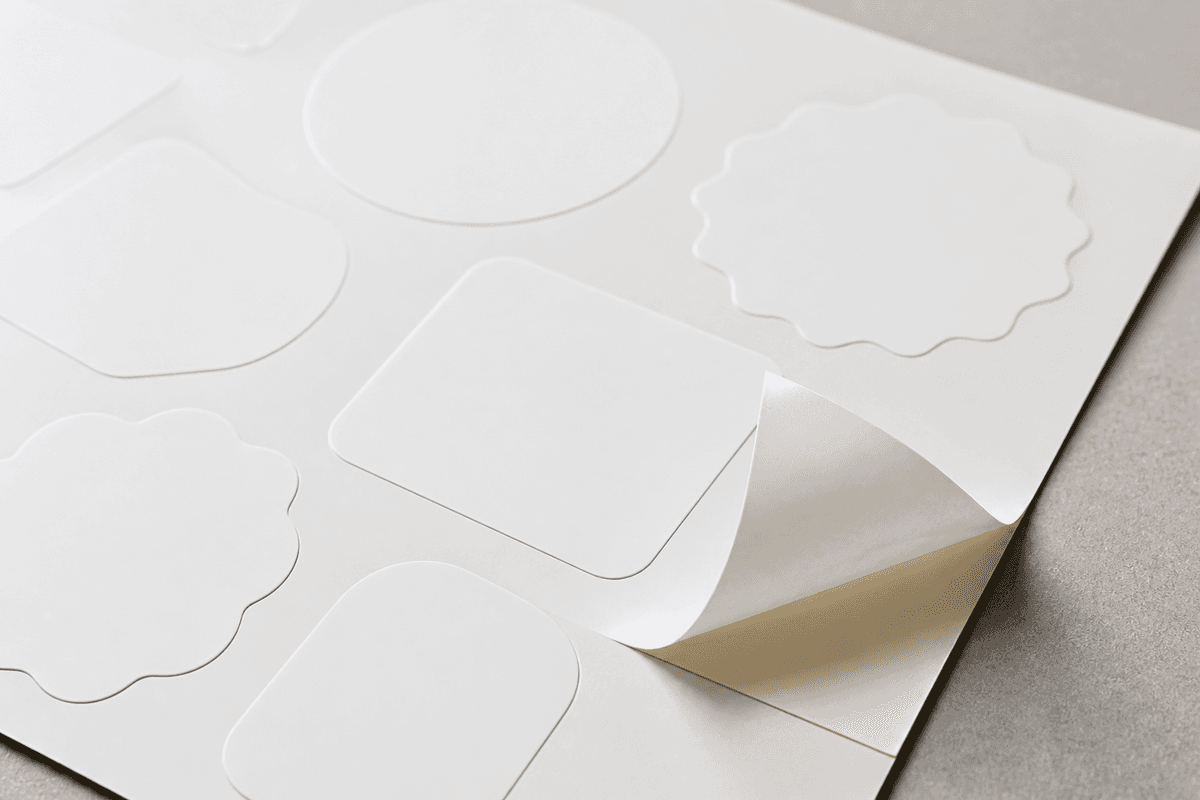
Die-cut shapes: round, custom outline and cut-outs
A rectangle is the safe default, but stickers do their best work when the shape follows the design. Every sticker we print is die-cut to your shape — round, irregular, a custom outline that hugs your logo, or even cut-outs inside the sticker. A circular badge, a mascot cut to its silhouette, or a brand mark with the negative space removed all read as more considered than a logo floating in a square.
It helps to know the industry terms. A die-cut sticker is cut all the way through to its final shape, so each piece comes away individually. A kiss-cut sticker is cut only through the top layer while the backing stays intact, which is why you sometimes see stickers on a square backing sheet. For most brand and product use, a clean die-cut to the exact outline is what makes a sticker look professional. When you order, you simply tell us the shape: for squares and rectangles we cut to the width and height you enter; for any custom shape, you include a cut line in the artwork (covered below).
How sticker sheets and sizing work
Sticker printing in Singapore is usually priced one of two ways: per individual piece, or per printed sheet. We print per sheet, which keeps small and medium runs economical. Every order prints on a single 320 × 450mm sheet, with one design at one size per sheet — no mixing different designs or sizes on the same sheet. You send one sticker at the exact finished size you want (width × height in millimetres), and we lay it out as many times as it fits, leaving a 10mm margin around the sheet edge and a 2mm gap between stickers, rotating the layout automatically when that fits more.
How many you get depends entirely on the sticker's dimensions. A small 30 × 30mm sticker fits about 117 per sheet; a 50 × 50mm fits 40; a 100 × 100mm fits 8; and a large 200 × 200mm fits 2. In ISO A-sizes, an A6 (105 × 148mm) fits 8 per sheet, A5 (148 × 210mm) fits 4, A4 (210 × 297mm) fits 2, and A3 (297 × 420mm) fits 1. The minimum sticker size is 5 × 5mm, and you can order from 1 up to 50 sheets in a single run. Enter your width and height on the product page and the live calculator shows the exact yield and your total instantly — so you can dial in size against quantity before you commit. You can size up a run of custom sticker printing in Singapore in a couple of minutes this way.
Setting up artwork that prints cleanly
The fastest way to a clean print is a correctly built file. For sticker printing, submit your design as a vector file — an Adobe Illustrator (.AI) or SVG — at the exact finished size of one sticker, in CMYK colour. Vector art stays razor-sharp at any size, which is why we ask for it rather than a screenshot or a low-resolution image; think of it as the print-ready, 300 DPI equivalent for cut graphics.
A few setup rules worth memorising:
- No bleed needed. Unlike flyers, you supply the design at finished dimensions — just the sticker itself.
- Custom shapes need a cut line. For round, irregular or custom-outline stickers, include the die-cut path as a vector line in the same file so we know exactly where to cut. For plain squares and rectangles, no cut line is required — we cut to the size you enter.
- Keep it CMYK, no white-ink layer. Standard pricing covers CMYK printing. If your design needs white ink — typically as an opaque underbase on the Transparent finish, or as a printed white element on a Metallic finish — that runs as a separate quote, so leave the white layer out of the artwork and ask us first.
Production runs from your approved proof, so check the proof carefully — the size, the colours and the cut line are all locked in at that step.
How many stickers do you actually need?
Because pricing is per sheet and the per-sheet rate drops at higher quantities, the smart move is to match sticker size to the number of pieces you want. A few worked examples make it concrete:
- A small brand pack (~200 pieces): a 50 × 50mm sticker at 40 per sheet means 5 sheets gives you 200 stickers — a tidy waterproof Gloss drop for laptops and bottles.
- Event lanyard logos (~400 pieces): an 80 × 40mm sticker at 35 per sheet across 12 sheets lands you 420 pieces.
- A premium label, small run: a single Metallic Gold sheet of 40 × 40mm stickers yields 70 expensive-looking labels for product seals or gift boxes.
- A large merch run (1,000+): a 50 × 80mm sticker at 25 per sheet across 50 sheets delivers 1,250 pieces in one go.
For runs above 50 sheets, contact us for a custom quote. The calculator on the product page will do the arithmetic for any size and quantity you type in, so you can plan to a target piece count rather than guessing.
Frequently asked questions
What is the best sticker material for outdoor use?
Choose one of the two waterproof finishes — Gloss or Matt. Both are built to handle water and handling, so they suit water bottles, car windows, outdoor packaging and anything exposed to the elements. Gloss makes colours pop; Matt cuts glare and reads more premium.
Can you cut stickers into custom shapes?
Yes. Every sticker is die-cut to your shape, including round, irregular outlines and cut-outs inside the design. For custom shapes, include a vector cut line in your artwork file. Squares and rectangles need no cut line — we cut to the dimensions you enter.
What file format should I send?
A vector file — Adobe Illustrator (.AI) or SVG — at the exact finished size of one sticker, in CMYK, with no bleed. Vector keeps every edge sharp at print. For custom shapes, add the die-cut line as a vector path in the same file.
Do you print white ink?
White ink is available as a separate quote, usually as an opaque underbase on the Transparent finish or as a printed white element on a Metallic finish. Standard per-sheet pricing covers CMYK only, so leave the white layer out of your file and ask us before ordering.
How many stickers fit on one sheet?
It depends on your sticker size on the 320 × 450mm sheet. As a guide: 30 × 30mm fits about 117, 50 × 50mm fits 40, 100 × 100mm fits 8, A5 fits 4 and A4 fits 2. The live calculator on the product page shows the exact count for any size you enter.
Ready to print?
The four decisions — finish, waterproofing, shape and file setup — are the whole game. Pick the finish that suits where the sticker will live, choose waterproof if it will meet water, cut to a shape that flatters the design, and supply clean vector artwork. Do that and your stickers will end up exactly where you want them: stuck on, seen, and reused. When you are ready, head to the sticker product page, enter your size and quantity, and the live calculator will price the run for you on the spot.