Name Card Size in Singapore: 90 × 54 mm and How to Set Up Your File
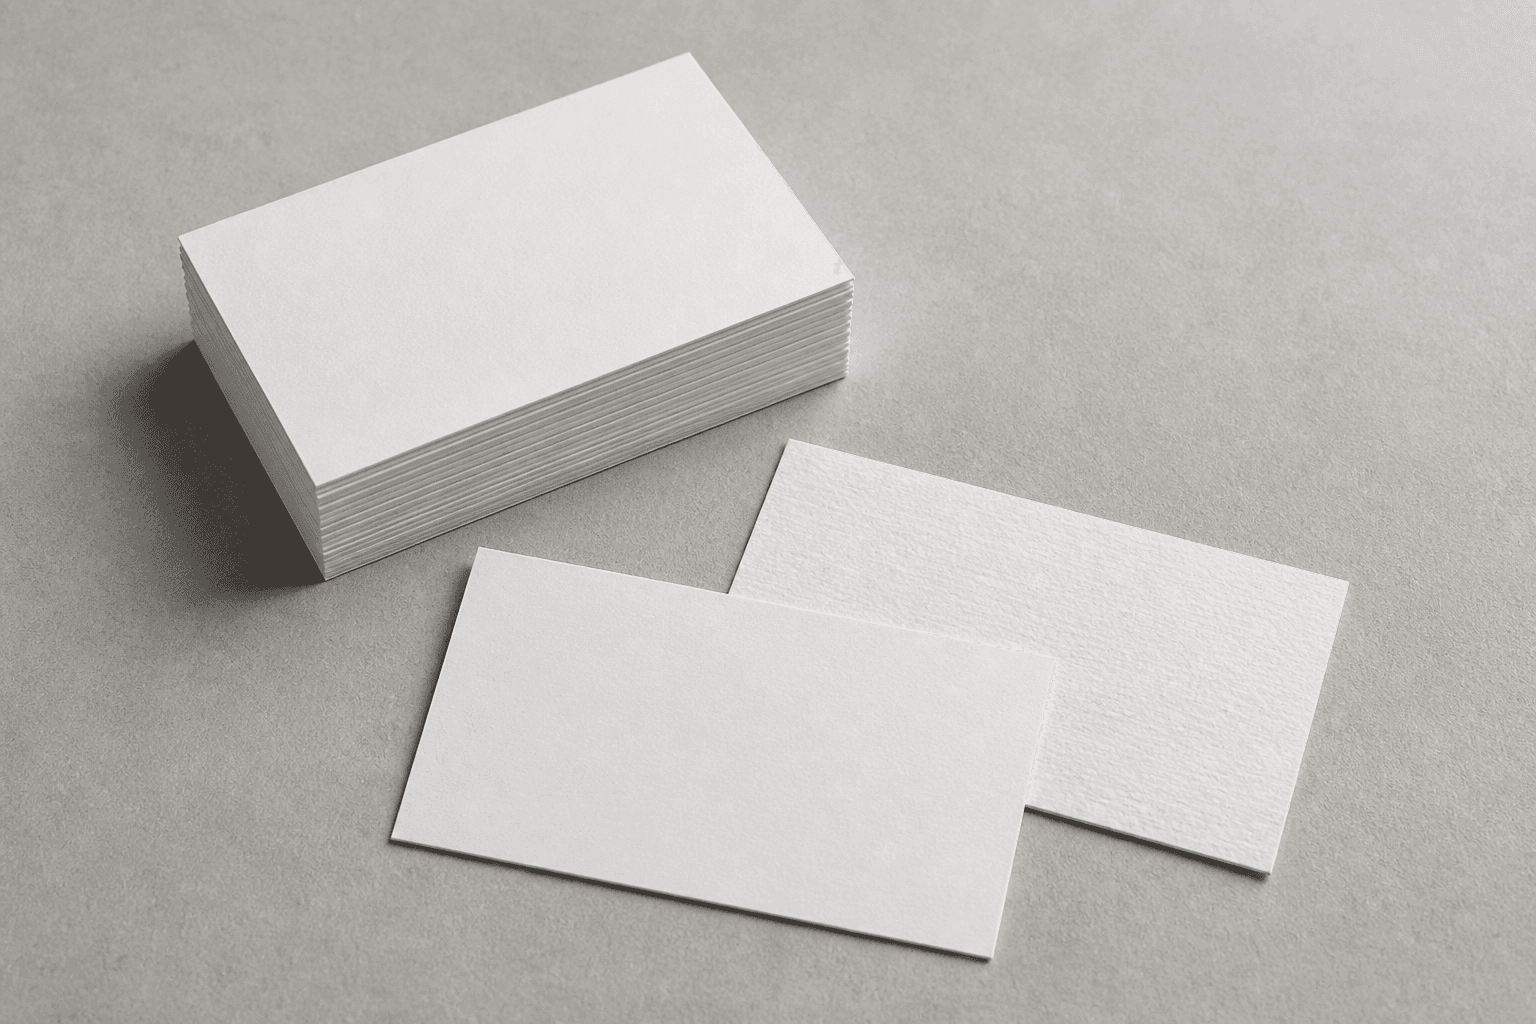
Answer first: the standard name card size in Singapore is 90 × 54 mm, and that is exactly the size every box from our name card printing in Singapore is trimmed to. Build your artwork at 90 × 54 mm with a bleed, and everything after that — paper stock, lamination, rounded corners, foil — becomes a question of taste rather than a question of whether the file will print properly.
Most name card problems are not design problems. They are setup problems: text sitting too close to the edge, a file built at the wrong dimensions, or a background that stops precisely where the blade lands. This guide walks through the size itself, the two international sizes you will occasionally meet, and the file setup that makes a name card print cleanly the first time.
The standard name card size in Singapore: 90 × 54 mm
Singapore has settled on 90 mm wide by 54 mm tall as the default name card size. In portrait orientation you simply flip the numbers — 54 × 90 mm. It is a shade larger than the American card and a shade narrower than the European one, and it has one very practical advantage: it fits the card holders, wallets and card cases that circulate in Singapore offices without bending at the corners.
That 90 × 54 mm figure is a trimmed size. It describes the card after the guillotine has cut it, not the size of the file you send. The file needs to be slightly larger, which is where bleed comes in.
The other sizes you will run into
Two other name card sizes are common enough that it is worth knowing them, especially if you are matching an existing set or a holder bought overseas:
- US size — 89 × 51 mm (3.5 × 2 inches). Slightly shorter and squatter. This is the default in most American design templates, so a file downloaded from an overseas source is often this size rather than the Singapore standard.
- European size — 85 × 55 mm. Narrower and marginally taller, sharing its footprint with a credit card.
None of these are wrong, but mixing them within one company looks careless when the cards are stacked together. If your team already has cards in circulation, measure one before you rebuild the artwork. A card that is 4 mm off will not sit flush in the same holder as the rest.
Bleed, trim and safe zone — the three lines that matter
Every printed card has three invisible boundaries, and understanding them removes most of the guesswork:
- Bleed — artwork extended past the trim line so that a background colour or image runs right off the edge of the finished card. For name cards, extend your background 2 mm on all four sides, making the artboard 94 × 58 mm.
- Trim — the 90 × 54 mm line where the blade cuts. This is your finished card.
- Safe zone — the area inside the trim where text and logos are guaranteed to survive. Keep anything you cannot afford to lose about 4–5 mm inside the edge.
Cutting is mechanical, and a stack of cards can shift by a fraction of a millimetre as it is trimmed. Bleed absorbs that movement so you never get a thin white sliver along one edge; the safe zone absorbs it so your phone number never loses its last digit. Skip both and you are gambling on a machine being perfect.
How to set up your name card file, step by step
Send print-ready artwork as a vector file — Adobe Illustrator (.AI) or PDF — and the setup is straightforward:
- Build at the card size. Artboard at 90 × 54 mm, with 2 mm bleed all round.
- Work in CMYK. Printing presses lay down cyan, magenta, yellow and black inks. Artwork built in RGB has to be converted, and bright screen colours — vivid blues and neon greens especially — shift when they do. Designing in CMYK from the start means what you approve is what you receive.
- Keep raster elements at 300 DPI. Any photograph or texture placed in the card should be print-ready at the size it appears. A logo pulled from a website will look soft at card size, even though it looks perfectly sharp on screen.
- Outline or embed your fonts. This is the single most common cause of a card printing in the wrong typeface. Converting text to outlines removes the dependency entirely.
- Supply both faces. If the card is double-sided, provide front and back as separate pages or artboards, clearly labelled.
Choosing paper: how stock changes the card in the hand
Size is fixed, but weight is not — and weight is what people actually notice. Our name cards run across seven stocks, from 250GSM and 300GSM Art Card, through 200GSM Tangerine White and the 300GSM Maple Bright and Maple White papers, up to 350GSM Grandeur White and 300GSM Shiruku Ivory.
Art Card at 250GSM is the everyday standard and the most ordered. Move up to 300GSM and the card stops flexing between finger and thumb. At 350GSM you are into the weight range where people pause before putting the card down. The textured and ivory stocks change the surface rather than the stiffness — useful when you want the card to feel like paper rather than like a coated sheet. Every stock prints the same crisp digital colour, so choose by the object you want to hand over, not by expecting a different print result.
Finishes that change how you build the file
Three finishing options affect your artwork, so decide on them before you finalise the file rather than after:
- Lamination. Matt lamination gives a flat, low-glare surface; gloss lamination lifts colour saturation and makes photographic elements pop. Neither changes your dimensions.
- Hotstamp foil. Available in gold, rose gold and silver. Foil is applied as a physical metallic layer, so the elements receiving it must sit on their own clearly named layer in the file — that layer becomes the stamping die.
- Spot UV. A glossy varnish applied to selected areas only. It reads as a contrast effect, which is why it needs a matt lamination base — gloss spots on a gloss card are invisible. Like foil, put the spot UV areas on their own named layer.
Rounded corners are the exception: available from 3 mm to 10 mm radius, they are cut after printing and do not change your 90 × 54 mm setup. Just keep text away from the corners, since a 10 mm radius removes noticeably more card than a 3 mm one. You can combine lamination, corners, foil and spot UV on the same order — pick your combination and watch the total update on the name card page before you commit.
Common name card mistakes worth avoiding
- No bleed. A background built exactly to 90 × 54 mm will show white edges after trimming.
- Text hugging the edge. It looks intentional on screen and looks like an error on paper.
- A low-resolution logo. Ask whoever designed your identity for the vector original; it will scale to any size without softening.
- Hairline rules. Very fine lines can break up when printed at card size. Give them a little more weight.
- Mixed sizes across a team. Agree on one size — 90 × 54 mm — and hold everyone to it.
- Forgetting the second face. The reverse is free real estate for a tagline, a QR code or a service list.
Name card printing FAQ
What is the standard name card size in Singapore?
90 × 54 mm landscape, or 54 × 90 mm portrait. Build your file at that trimmed size with 2 mm bleed on every side.
How much bleed does a name card need?
2 mm on all four sides, giving an artboard of 94 × 58 mm. Keep critical text 4–5 mm inside the trim line.
Is a name card the same as a business card?
In Singapore the two terms are used interchangeably for the same 90 × 54 mm card. “Name card” is simply the more common local phrasing.
What file format should I send?
A vector .AI or PDF at card size, in CMYK, with fonts outlined or embedded and any raster images print-ready at 300 DPI.
How many cards come in a box?
100 cards per box, and each box prints one design. If several colleagues need cards, order each name as its own box.
Do rounded corners change the card size?
No. The card is still trimmed to 90 × 54 mm; the corner radius, from 3 mm to 10 mm, is cut afterwards.
Ready to print
Get the size right and a name card becomes a very forgiving thing to produce: 90 × 54 mm, 2 mm of bleed, text held 4–5 mm inside the edge, CMYK, fonts outlined. Everything else is the part you get to enjoy — the weight of the stock, whether the surface is matt or gloss, whether your logo arrives in silver foil.
Build yours on the name card printing page, where you can set stock, lamination, corners, hotstamp and spot UV and see the box total update as you go. Want something heavier and more tactile? Compare it against luxury business cards for thicker stocks and coloured edges, or look at an NFC card if you would rather your contact details arrive with a tap.
This article is part of our full guide to printing services in Singapore — prices, turnaround times and how to choose a print shop.