Roll-Up Banner Printing in Singapore: Sizes, Setup and Finishes
Standing at a booth wondering how big your display should be? For most Singapore events the answer is a roll-up banner printed in Singapore at one of two standard sizes — and getting that size right, along with your artwork resolution and finish, is the difference between a crisp, professional display and a soft, pixelated one. This guide walks through roll-up banner sizes, artwork setup, lamination and where these banners work best, so you can order with confidence.
What is a roll-up banner?
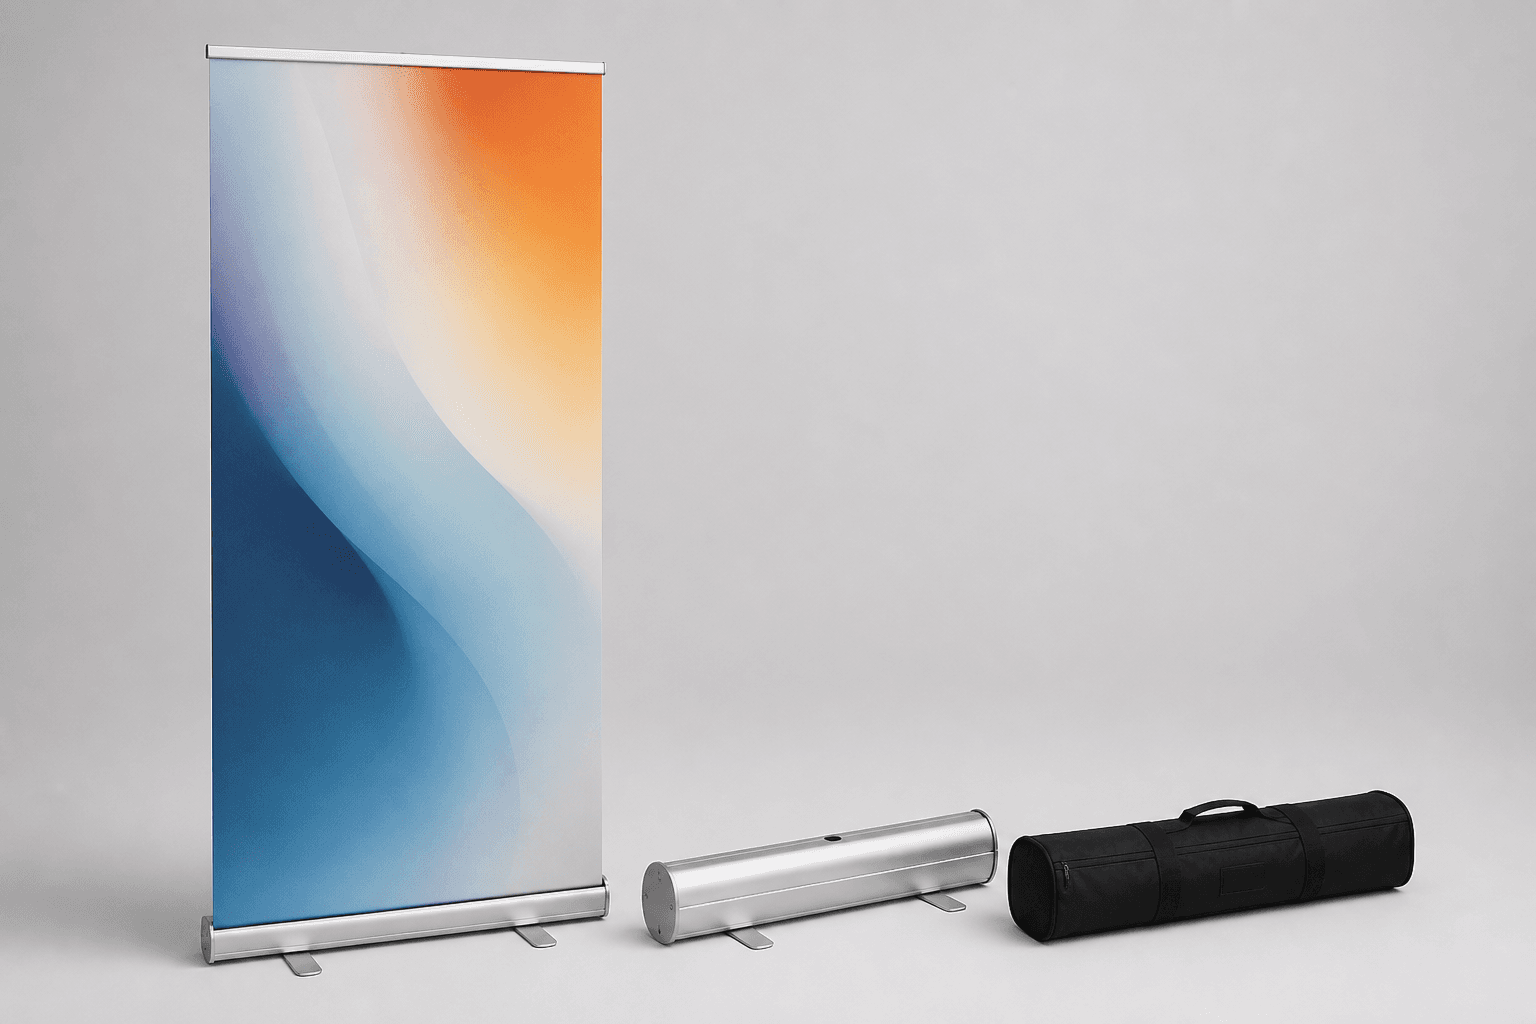
A roll-up banner — also called a pull-up banner — is a printed graphic that retracts into a slim aluminium base. You pull the print up, clip it to a support pole, and it stands on its own; when the event is over, the graphic rolls back down into the base and the whole thing packs into a carry bag. Because the base does the structural work, the banner is reusable: the same stand travels from a roadshow to a lobby to a trade-show booth, event after event. Our roll-up banners ship in their own carry base and set up in about 30 seconds — no tools, and no wall to lean against.
That reusability is why roll-up banners are the default freestanding display for Singapore businesses. They are light enough to carry one-handed on the MRT, they store flat behind a counter, and a single well-designed banner earns its keep across a whole year of events.
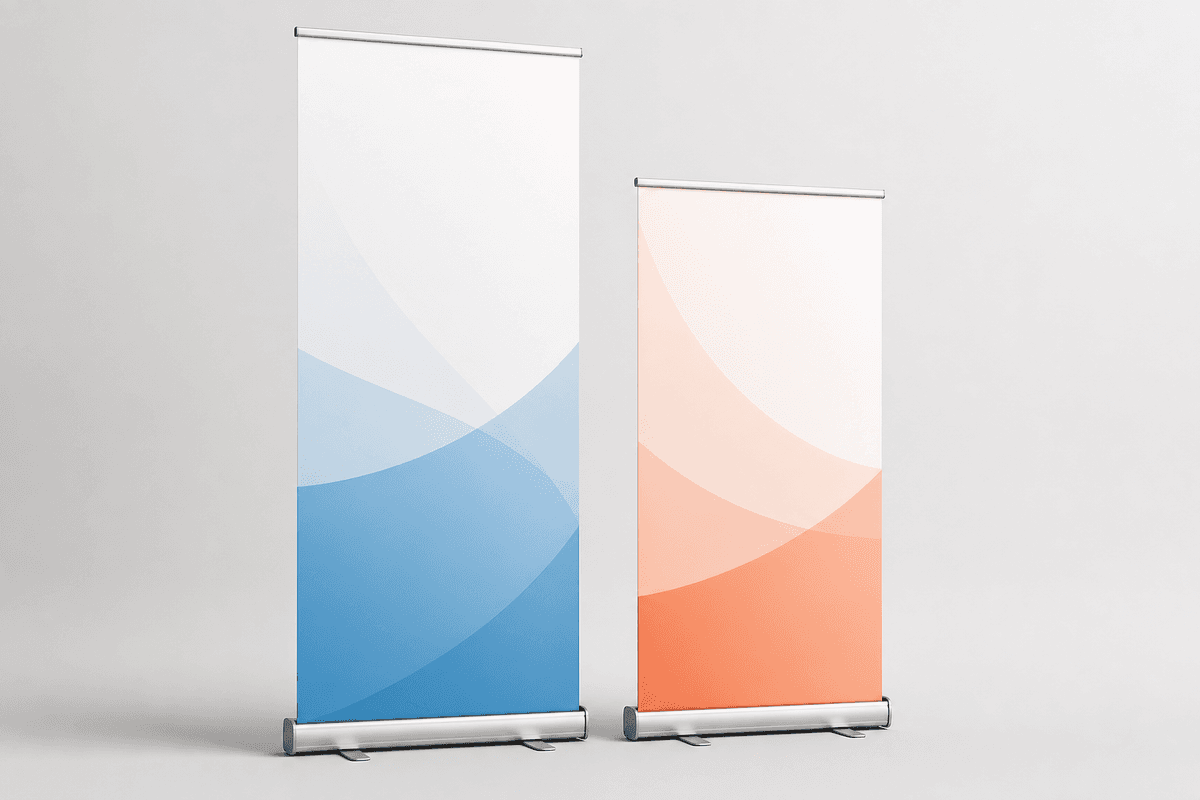
Roll-up banner sizes in Singapore: 60×160 vs 85×200
We print roll-up banners in two standard sizes, and choosing between them comes down to viewing distance and how much you need to say:
- 60cm × 160cm (600 × 1600mm) — the compact option. It sits neatly beside a reception desk, a registration table or a café counter where people are standing close. Choose it when floor space is tight, or when the banner supports a nearby display rather than standing on its own.
- 85cm × 200cm (850 × 2000mm) — our most popular size, and the one most people picture when they think "roll-up banner." At two metres tall your headline reads from across a hall, and the extra width gives your logo, message and a QR code room to breathe. It is the safe default for booths, launches and roadshows.
If you are unsure, size up. The 85×200 reads better from a distance and rarely looks too big; a 60×160 straining to carry a full pitch is the more common regret.
Roll-up banner prices in Singapore
Both standard sizes are priced per complete banner — the print, the retractable aluminium base, the carry bag and your choice of matt or gloss lamination are all included:
| Size | Price (single banner) | Price each at 11+ pcs |
|---|---|---|
| 60cm × 160cm | S$75 | S$65 |
| 85cm × 200cm | S$95 | S$85 |
The per-piece rate drops by S$1 for every additional banner in the order, to a maximum discount of S$10 each — so a roadshow batch or a set for a chain of outlets is where the price works hardest. Banners are typically ready in about 2 working days; the roll-up banner price calculator shows your per-piece rate live as you change the quantity.
How to set up artwork so your banner looks sharp
Because a banner is printed large and viewed from a distance, the setup rules differ from a name card or a flyer. A few things matter more than anything else:
- Design to scale. Build your file at the exact banner size, or at a clean fraction of it such as half-size, so proportions and text sizing stay true.
- Keep it print-ready. Supply print-ready artwork — 300 DPI at your working scale is a safe target. Avoid pulling low-resolution images off social media; they look fine on a phone and fall apart at two metres.
- Respect the eye-line. The base hardware covers the very bottom of the print, so keep your logo and key message in the top two-thirds, where they sit at standing eye level. Anything below knee height gets ignored in a crowd.
- Leave a safe margin. Keep text and logos at least 3–4cm clear of every edge so nothing is clipped when the print is trimmed and mounted.
- Send vectors where you can. Logos and text stay razor-sharp as vector art or a high-resolution PDF; flatten photographs at full resolution rather than upscaling them.
Ready to see it come together? Head to the roll-up banner page, pick your size and lamination, and the live calculator shows your per-piece rate as you build — the rate drops with each extra banner in the order.
Matt or gloss lamination?
Every roll-up banner we print is finished with a protective laminate, and you choose the look: matt or gloss. The laminate is not just cosmetic — it shields the print from scuffs and fingerprints as the banner is rolled up and down between events.
- Matt lamination is the popular choice. It kills glare, so your message stays readable under the bright downlights and spotlights common in malls, hotel ballrooms and convention halls. Photos look a touch softer, but text is far easier on the eye.
- Gloss lamination makes colours pop and deepens dark tones, which suits image-led designs and product photography. The trade-off is reflections — under strong, direct lighting a gloss finish can throw hotspots that wash out part of the graphic.
Rule of thumb: matt for text-heavy displays in bright indoor spaces; gloss when rich photography is the star and you can control the lighting.
Where roll-up banners work best
The roll-up format shines anywhere you need instant presence and easy pack-down. Common uses across Singapore include:
- Reception and welcome points — greet visitors and reinforce your brand the moment they arrive.
- Trade shows and exhibitions — mark your booth and carry your key message above the crowd.
- Product launches and openings — a clean, tall graphic that photographs well behind a ribbon-cutting or demo.
- Roadshows and mall atriums — light enough to set up and tear down at multiple venues in a day.
- Seminars, conferences and talks — flank a stage or line a registration desk.
- Retail promotions — announce a sale or new collection at the shopfront without drilling anything into the wall.
Roll-up vs X-stand vs PVC banner: which should you pick?
The roll-up is not the only freestanding format we print. Here is how to choose between the three:
- Roll-up banner — pick this when you want a self-contained, reusable display that packs into its own base and travels well. It is the all-rounder for indoor events.
- X-stand banner — our X-stand banner is even lighter and pops up in about 60 seconds on a collapsible X-frame. Choose it for short-notice roadshows and lobby entrances where you are carrying everything one-handed, and the clip-on graphic makes swapping designs simple.
- PVC banner — for anything outdoors or oversized, such as a shopfront, an exhibition wall or a photocall backdrop, a PVC banner is built to survive sun and weather at custom sizes a roll-up simply cannot reach.
For the majority of indoor Singapore events, though, our reusable roll-up banners hit the sweet spot of portability, presence and reuse.
How many roll-up banners should you order?
Start with one banner per entrance or zone you want to own — a welcome point, a demo corner, a photo backdrop. If your event runs across several days or venues, order a spare so a scuffed or misplaced stand never leaves a gap. Because the per-piece rate on our roll-up banners drops with each extra banner in the order, printing a small batch for a roadshow or a chain of outlets usually works out better value than ordering them one at a time. The live calculator on the product page updates the rate as you change the quantity, so you can see exactly where the batch makes sense before you commit.
Roll-up banner printing FAQs
What is the standard roll-up banner size in Singapore?
The most common size is 85cm × 200cm (850 × 2000mm) — tall enough to read across a hall and wide enough for a full message. A smaller 60cm × 160cm (600 × 1600mm) option suits tighter spaces such as counters and reception desks.
What resolution should my banner artwork be?
Supply print-ready artwork, aiming for 300 DPI at your working scale, and use vector art or a high-resolution PDF for logos and text so they stay crisp when enlarged. Keep key elements at least 3–4cm from the edges.
Are roll-up banners reusable?
Yes. The graphic retracts into its aluminium base and packs into a carry bag, so the same banner sets up again and again across multiple events. If you expect to change the design often, an X-stand banner lets you swap the printed graphic on and off the frame.
Can I use a roll-up banner outdoors?
Roll-up banners are designed for indoor use — wind can catch the tall surface and the base is not weighted for gusts. For outdoor shopfronts, backdrops or exhibition walls, choose a PVC banner instead.
Matt or gloss — which finish is better?
Both are laminated to protect the print. Matt hides fingerprints and cuts glare, which makes it the easier choice for text-heavy graphics in brightly lit rooms; gloss gives colours more punch and depth for photo-led designs where you can manage the lighting.
How much does a roll-up banner cost in Singapore?
A complete roll-up banner — print, retractable base, carry bag and lamination included — costs S$75 for the 60 × 160cm size and S$95 for the popular 85 × 200cm size. The per-piece rate drops by S$1 for each extra banner ordered, down to S$65 and S$85 respectively.
Get your roll-up banner printed
A roll-up banner is the least-fuss way to look established at any event — it arrives ready to stand, packs down in seconds, and comes back out for the next one. Build and order your roll-up banner on the roll-up banner page: choose 60×160 or the popular 85×200, pick matt or gloss lamination, upload your print-ready artwork, and set the quantity to see your per-piece rate. Print one for the launch this week, and keep it standing all year.