What Size Should Your Design Be for T-Shirt Printing in Singapore?
Send a file that's too small for the print area and it shows immediately — soft edges, visible blur, a design that looks stretched instead of sharp. Before you upload anything for T-shirt printing in Singapore, it pays to spend a few minutes getting the artwork size right, because the file you send is exactly what ends up on the fabric. This guide walks through print sizes, resolution, file formats and placement, so there are no surprises when your shirts arrive.
Why Artwork Size Matters More Than People Expect
A T-shirt isn't a screen — there's no auto-scaling, no responsive layout. Whatever dimensions and resolution your file carries are what gets reproduced on fabric at full size. A logo pulled straight off a website, or a graphic that looked fine as a small thumbnail, often falls apart once it's blown up to fill a chest panel or the full back of a shirt. Getting the size and resolution right at the start avoids reprints, delays and a finished product that doesn't match what you had in mind.
Standard T-Shirt Print Sizes in Singapore
Most custom T-shirt printing is quoted around a handful of standard print areas, and ours works the same way: a small 8 × 8 cm size for a chest logo or pocket mark, and then the familiar ISO paper sizes scaled up for larger designs — A5 (210 × 148 mm), A4 (297 × 210 mm) and A3 (420 × 297 mm) for anything from a mid-chest graphic to a full-back statement piece. Deciding which of these your design will occupy is the first step, because everything else — resolution, layout, even font size — should be planned around that final physical size in millimetres, not around how big the image looks on your laptop screen.
Resolution and DPI: What "Print-Ready" Actually Means
In the printing industry, "print-ready" generally means artwork prepared at 300 DPI (dots per inch) at its final output size — the resolution needed for a sharp, professional result at normal viewing distance. The key detail people miss: DPI is only meaningful in combination with a physical size. A file that looks crisp at 8 × 8 cm can turn blurry the moment it's stretched to fill an A3 back panel, because there simply isn't enough detail captured in the original to cover that much fabric cleanly. If you're not sure whether your file qualifies as print-ready, it's far safer to check with your printer before production than to find out after the shirts are done.
Vector vs Raster: Which Should You Send
Not all artwork behaves the same way when it's resized, and knowing the difference saves a lot of back-and-forth:
- Vector artwork (files built in Illustrator, saved as AI, EPS or SVG) is made of mathematical shapes rather than fixed pixels, so it can be scaled from an 8 × 8 cm chest logo up to a full A3 back print without any loss of sharpness. If your design is a logo, wordmark or simple graphic, vector is almost always the better source file.
- Raster artwork (photos, textured illustrations, anything exported as JPEG, PNG or PSD) is built from a fixed grid of detail, so it needs to be created or exported at 300 DPI for your intended print size from the start. Enlarging a raster file after the fact in image-editing software doesn't add back the detail that was never captured — it only stretches what's already there.
When in doubt, send the original source file rather than a screenshot or a copy pulled from social media — screenshots are almost always compressed and undersized for print.
Placement, Margins and Reading the Fabric
Size on paper and size on a body aren't quite the same thing. A print area that looks balanced in a design mockup can sit awkwardly once it's centred on an actual chest, especially across different builds and shirt sizes if you're ordering for a team. As a general rule, keep text and fine detail away from seams, the collar band and underarm curves, where fabric movement can distort a print over time. For a chest logo, the 8 × 8 cm size is usually placed slightly left of centre in the classic "breast pocket" position; for full designs, A4 or A3 artwork typically sits centred, whether on the front or back panel.
How to Prepare Your File in Five Steps
- Pick your print size first. Decide whether your design is an 8 × 8 cm mark, or an A5, A4 or A3 panel, before you start designing — it changes how much detail you need and where elements should sit.
- Set your canvas to that exact size. Work in millimetres, not arbitrary pixel dimensions, so there's no guesswork about scale later.
- Keep resolution at 300 DPI for raster elements. If you're combining a photo with text, make sure the whole composition is built at that resolution at final size.
- Convert text to outlines. This locks in your fonts so nothing shifts or substitutes when the file is opened on a different machine.
- Export as a print-ready PDF or a high-resolution flattened file. A single clean file is easier to check and far less likely to cause delays than a folder of loose layers and fonts.
Common Sizing Mistakes That Ruin a Print
- Pulling a logo from a website or social media page instead of the original design file — these are almost always compressed well below print quality.
- Designing at a small size on screen and assuming it will "just scale up" for a bigger print area like A3.
- Ignoring shirt colour when choosing artwork colours — a design with subtle light tones can disappear against a light shirt, and dark detail can vanish into a dark one.
- Ordering across multiple shirt colours without checking that a light-background logo still reads clearly on a dark garment, and vice versa.
- Sending a design with no clear final size in mind, then trying to fit it to whichever print area happens to be cheapest.
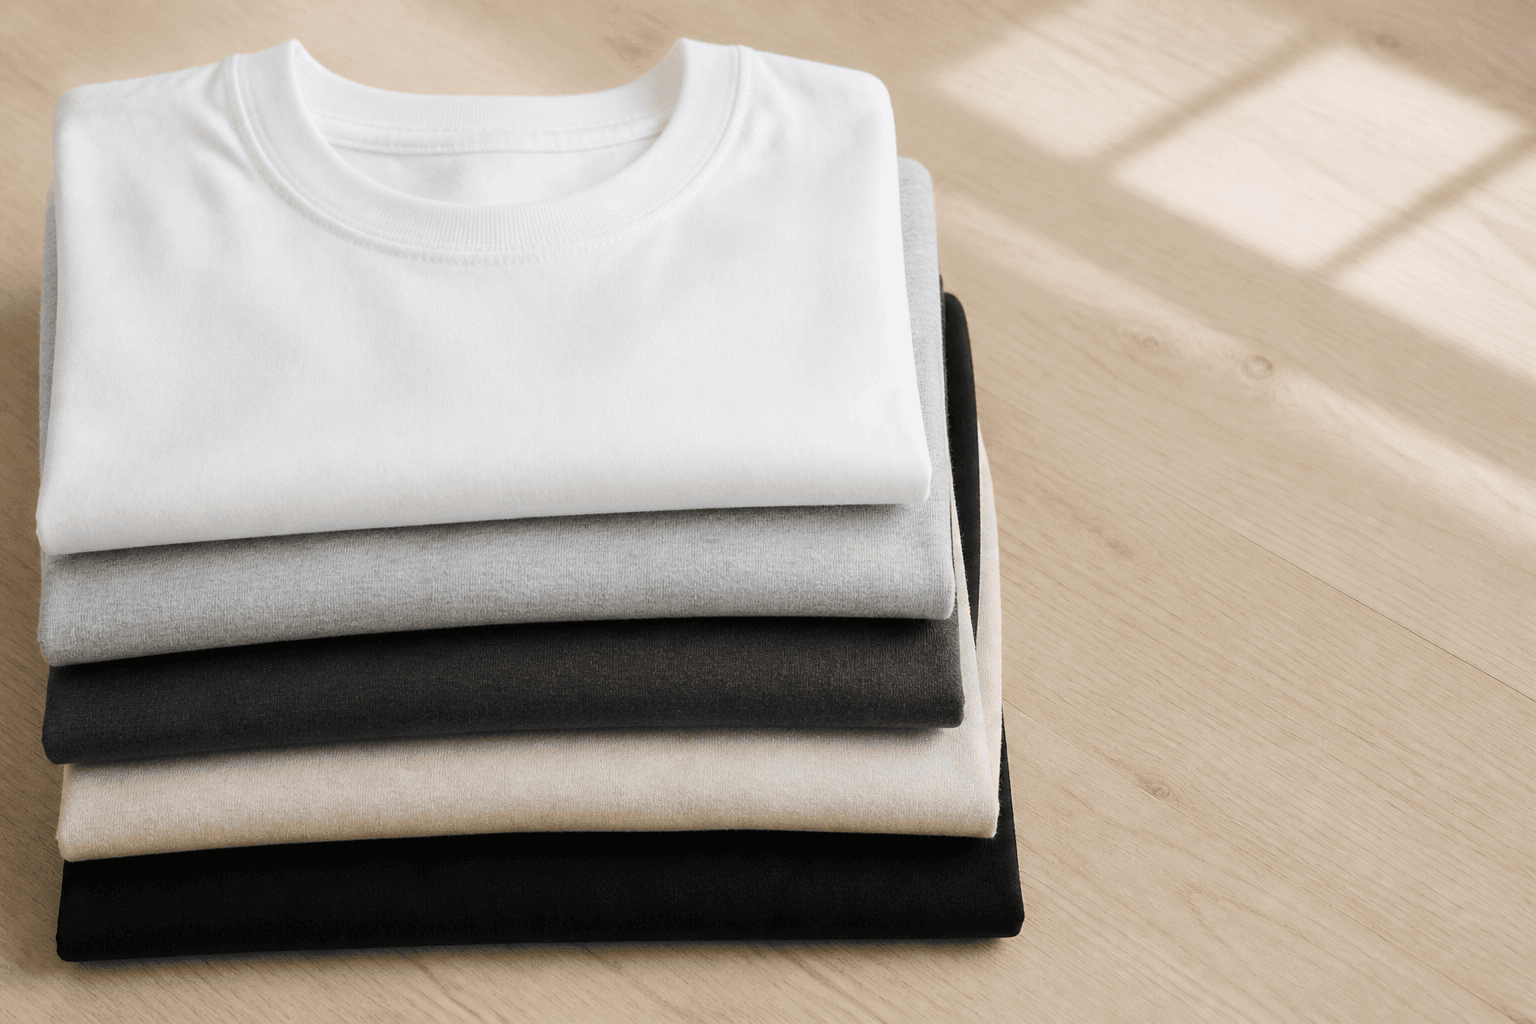
Once your file is sized and checked, ordering is straightforward — head to our T-shirts page, pick a shirt colour from the available range, choose your print size, and upload the finished artwork.
T-Shirt Printing FAQ
What is the standard print size for a T-shirt?
There isn't a single universal standard, but most printers — including ours — offer a small size around 8 × 8 cm for chest logos, plus the common ISO paper sizes A5, A4 and A3 for larger front or back designs. Choosing one of these standard sizes upfront makes it easier to plan your artwork correctly.
What size should my logo file be for a chest print?
For an 8 × 8 cm chest logo, vector artwork (AI, EPS or SVG) is ideal because it stays sharp at that size and can be reused for a larger print later without redoing the file. If you only have a raster version, make sure it's created at 300 DPI at that final 8 × 8 cm size, not scaled up from something smaller.
Can I print a photo on a T-shirt?
Yes, as long as the photo is high enough resolution for the print size you want. A photo taken on a modern phone camera is often suitable for smaller prints, but always check the file at 300 DPI at your intended output size before sending it in, especially for larger A4 or A3 prints.
What file format is best for T-shirt printing?
Vector formats (AI, EPS, SVG) are best for logos and simple graphics. For photos or complex artwork, a high-resolution, print-ready PDF, TIFF or flattened PNG works well. Avoid sending files compressed for web or social media use, as these are rarely sharp enough for print.
Do I need a designer to resize my artwork?
Not always. If you already have the original design file (rather than a low-resolution copy), setting the canvas to your chosen print size and checking the resolution is something most people can do themselves. If your only version is a small logo or an old file of unknown resolution, it's worth having someone rebuild it properly rather than risk a blurry print.
Getting the size right before you upload is the single biggest factor in how a custom T-shirt actually turns out. Once your artwork is set to the correct dimensions and resolution, you're ready to order your T-shirts in your choice of colour and print size. If your project also calls for a more formal uniform look, our polo shirt printing uses the same artwork principles with a collared finish, and for cooler-weather events, long sleeve shirt printing is worth a look as well.